Assembly of a Fender American Deluxe-Like Stratocaster
Background
In the previous year, I decided to resume practice playing the guitar. And after a few months, I learned some chords and could play a few songs. So I thought it was time to change a better gear. I started to practice using my landlord’s Lyon by Washburn, which seems bought in the 1990s. This one exactly looks like a cheap-made Fender’s Stratocaster. However, this old guitar has many issues (And it even can’t work before I replaced the string and cleaned up the bridge four years ago). The circuit of pickups was aged, and the sound was dull and dim. And if I adjust the volume or tone knob, it can’t make any sounds. So I could only keep potentiometers in a certain position to make it work. I could fix it by replacing the circuit, but it’s not worth it after all. So I decided to find a new guitar. Then after some searching, I thought I could build up a Stratocaster from the parts, and it seems cheaper than the finished product at stores. I chose Stratocaster just because I got familiar with the shape, and I think the body is the most beautiful among the Fender series. However, the fixed bridge type like Telecaster is more practical and easier to install the strings and maintain the tone. I never used the tremolo feature until now. Though you could get a customized one via Fender’s Mod Shop(with a well-designed web page and preview with 3D models), it is very pricey. But it provided a good reference for the main parts of the guitar.
NOTICE: this article is not a guide for assembly an electric guitar. As far as I could remember, I wrote down the whole procedure roughly and pointed out most things worth caution. But there are still many details in practice.
Collecting The Parts
Body
Fender American Deluxe Series
American Deluxe Series is a discontinued line of the electric guitar by Fender. But there’re still many replacement parts sold online, and Deluxe Series Stratocaster could use most Stratocaster parts except the neck plate. In fact, Deluxe Series and Classical Series are the only two Stratocaster bodies you can find online currently. And the HSH routing in Deluxe Series is more customizable. You can put a single coil on humbucker routing but can’t do the reverse.
Vintage(Classical) Bridge Mount VS Modern Bridge Mount
There were many discussions online about these two types of bridge mount. In the Stratocaster case, the vintage bridge mount uses six self-tapping screws to fix, while the modern bridge uses two bridge studs. I found the modern bridge mount more adjustable because you could change all six-string heights by adjusting studs.
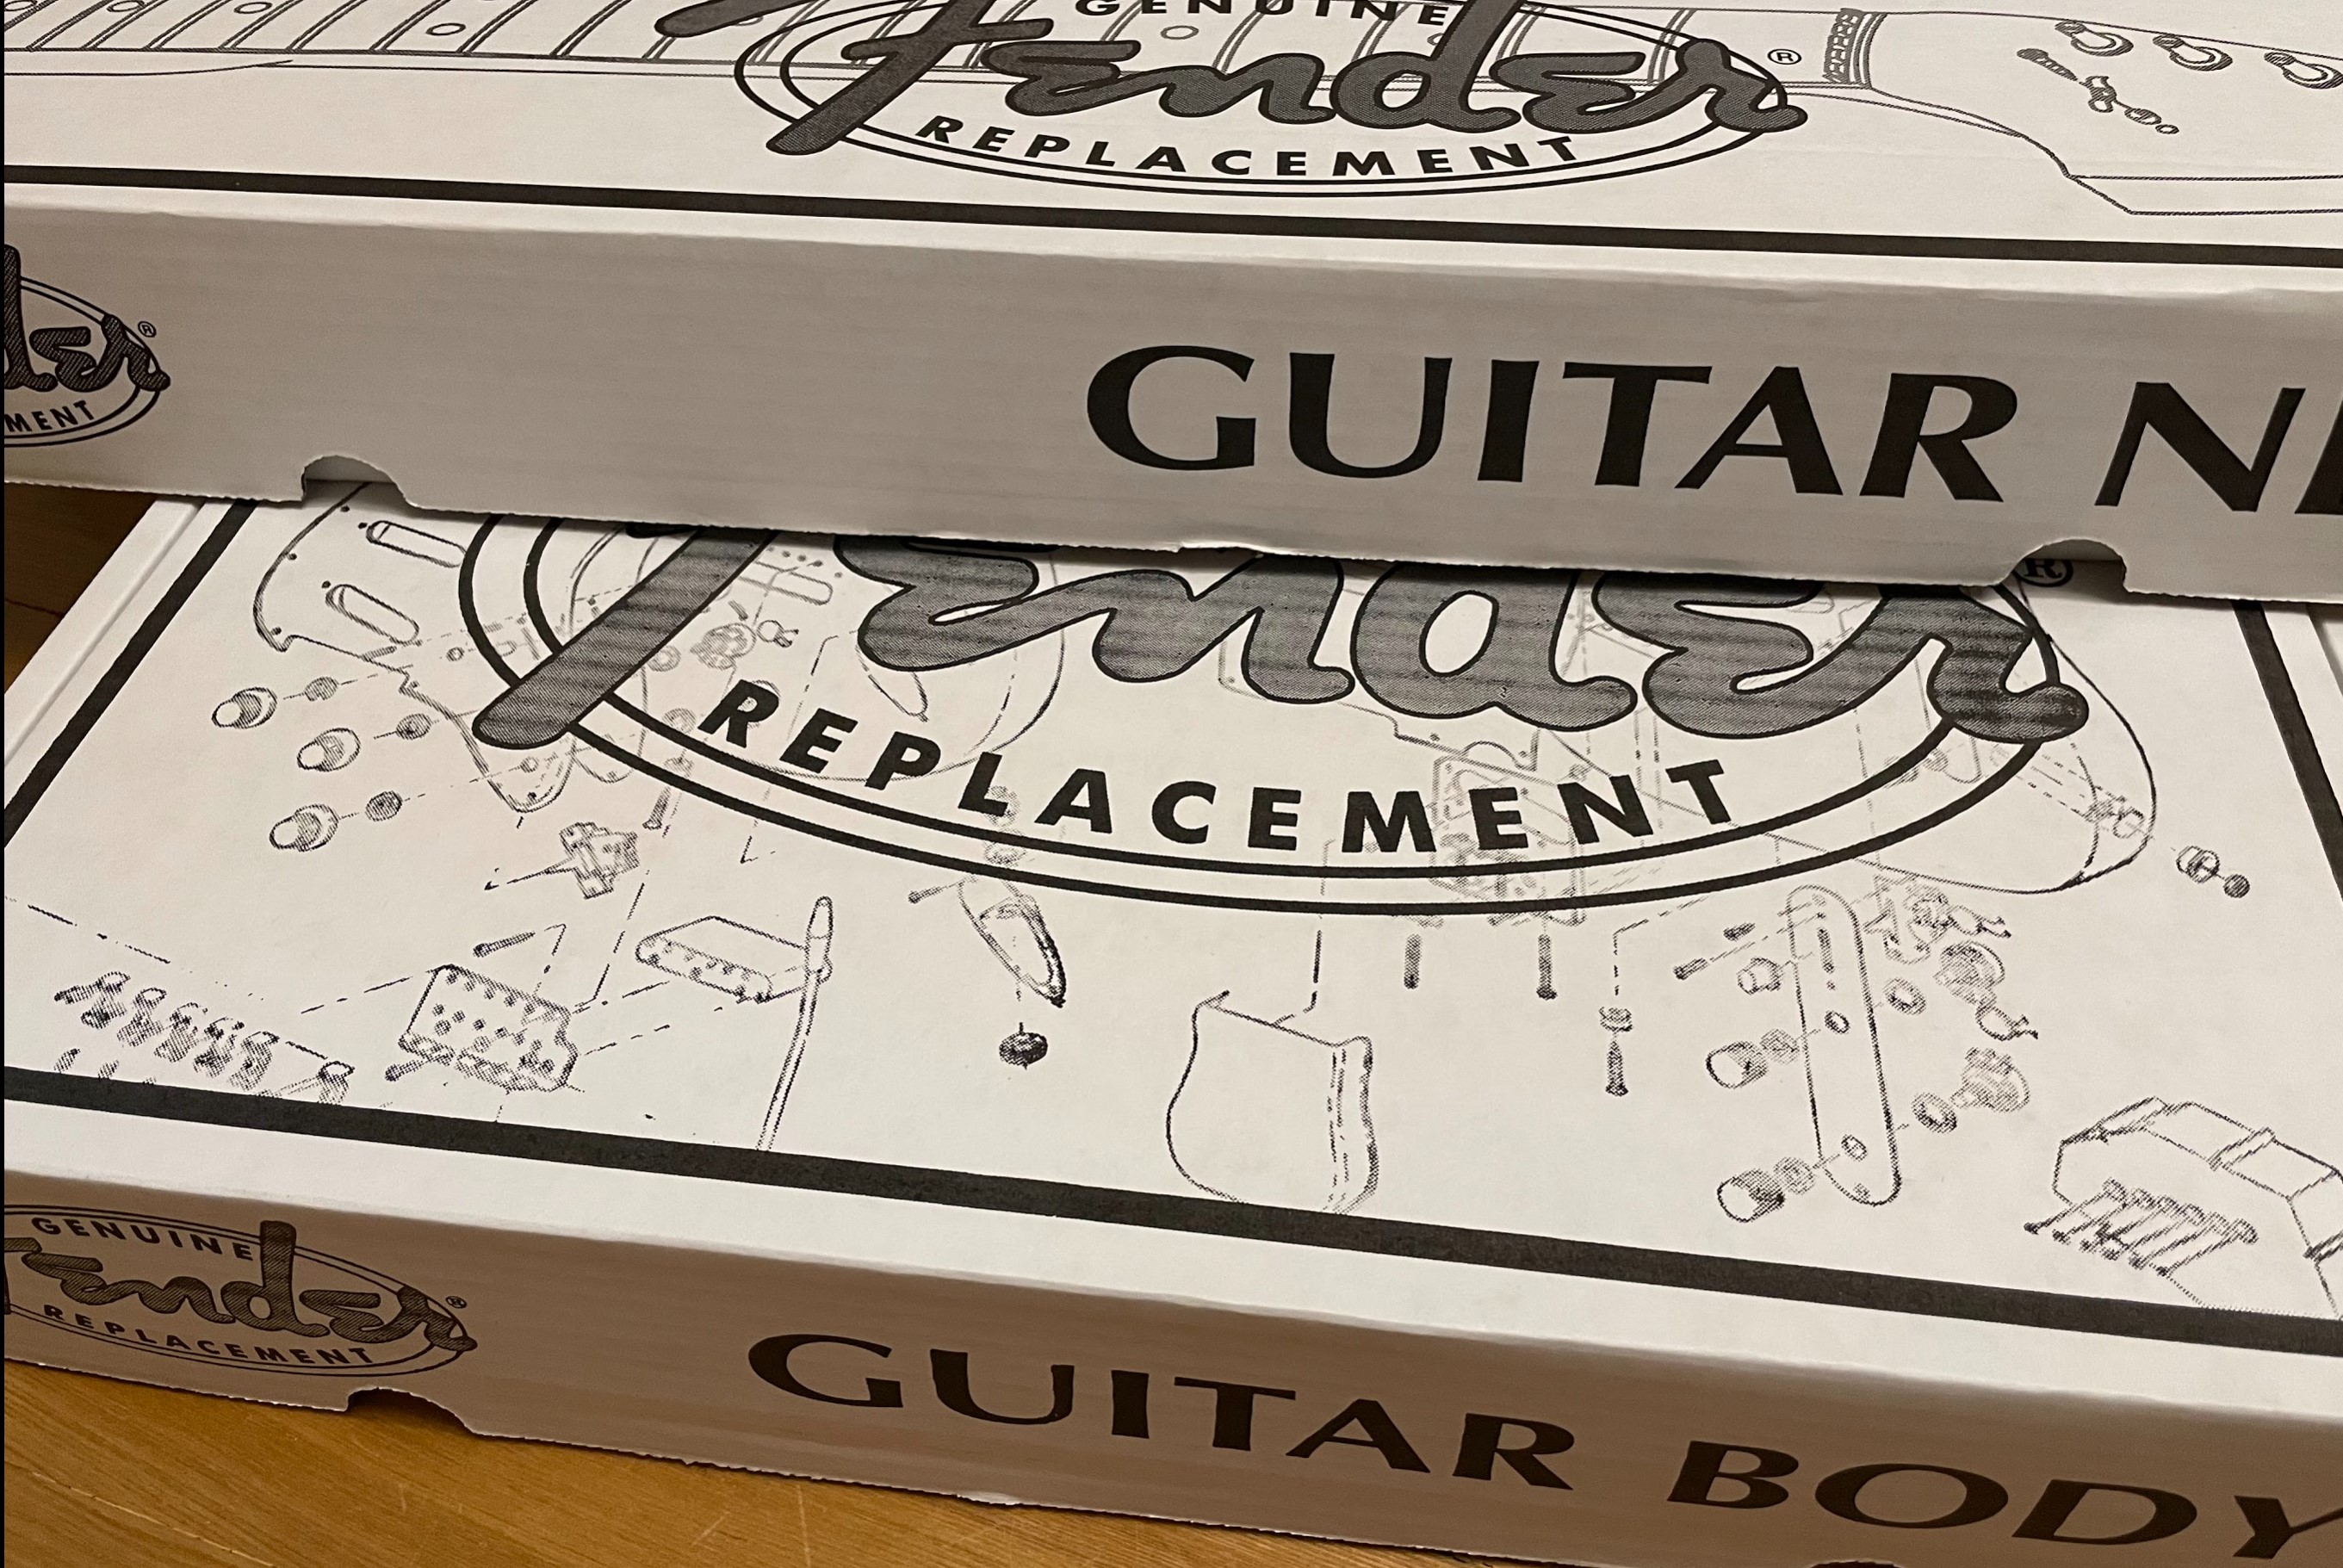 |
|---|
| Outer boxes of the Fender’s guitar body and neck replacement. |
Bridge
Because I can’t find an in-stock strat’s original bridge assembly in Amazon, and I want something different than the original. So I chose Gotoh 510TS-FE1 Tremolo Unit for replacement. But I received one without any stud, and I can’t confirm if it really has these studs included. So I just bought two studs on Taobao.
Neck
It’s said that the majority of Stratocaster comes with 21 frets. However, since the Deluxe Stratocaster’s body comes with a contoured heel, the high frets were easier to reach, so I chose 22 frets roasted maple neck.
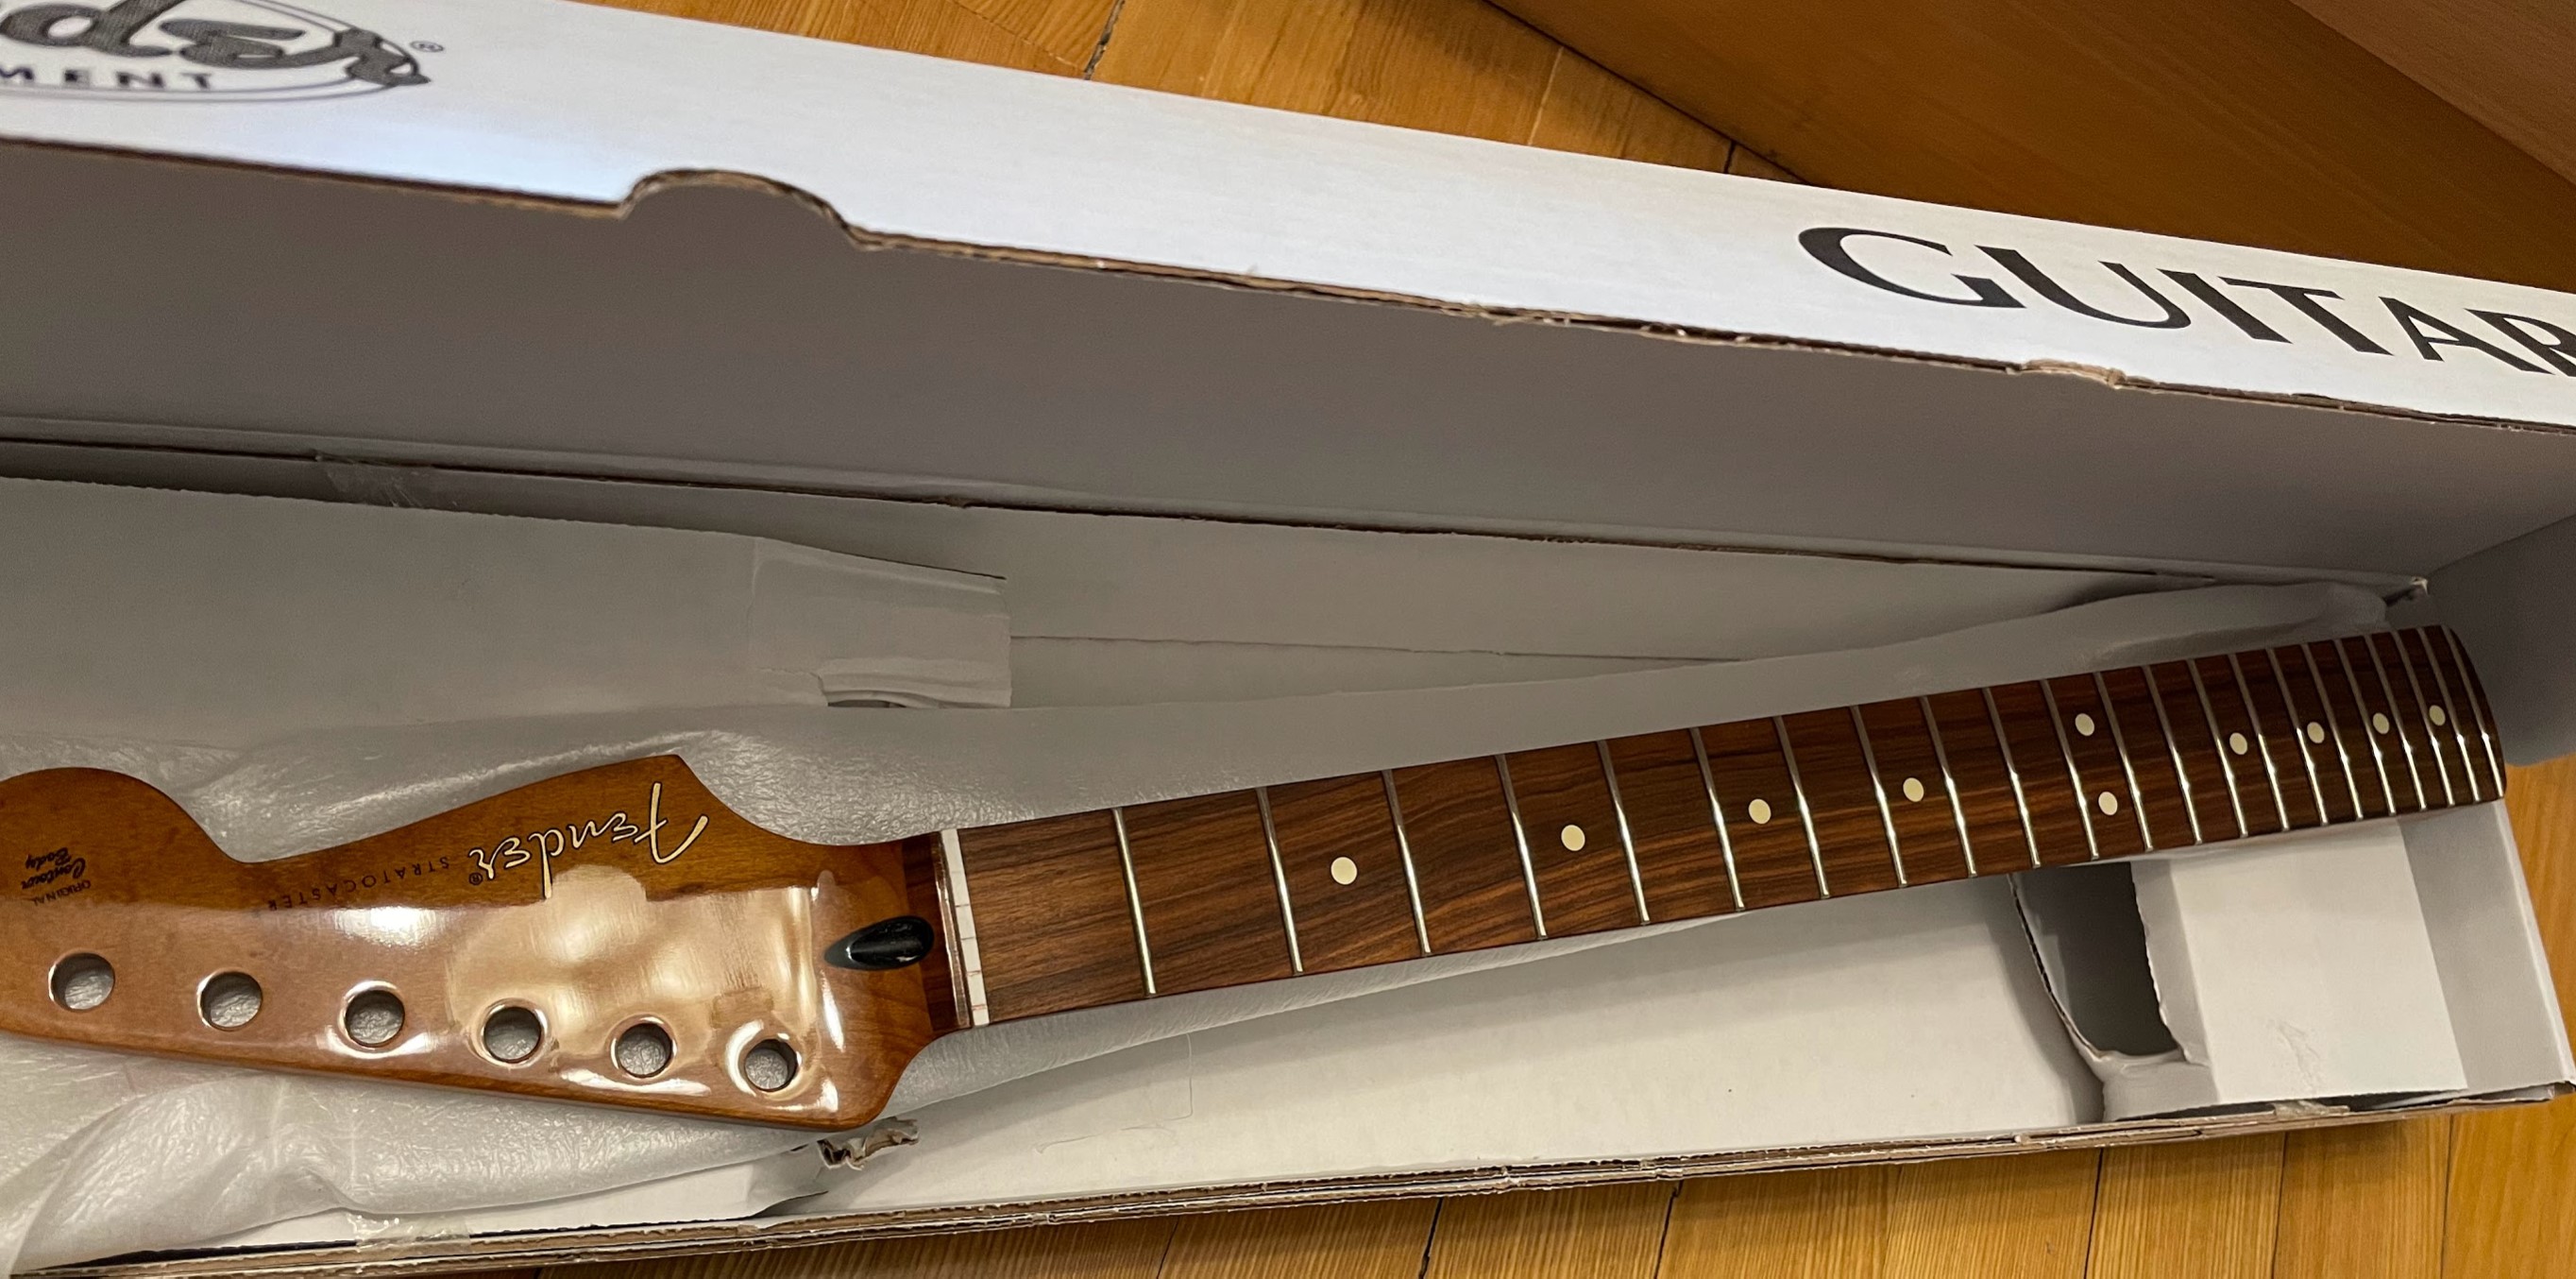 |
|---|
| Stratocaster’s neck, unboxing. |
Neck Plate
At first, I didn’t notice Deluxe Stratocaster’s body is a contoured heel, so I just bought a standard neck plate. Unfortunately, when I realized the issue, the American Deluxe neck plate was out of stock on Amazon. So I can only fix the body and neck with three screws. It’s a real pain, and I had to endure it for a few months until the American Deluxe neck plate arrived.
Pickguard
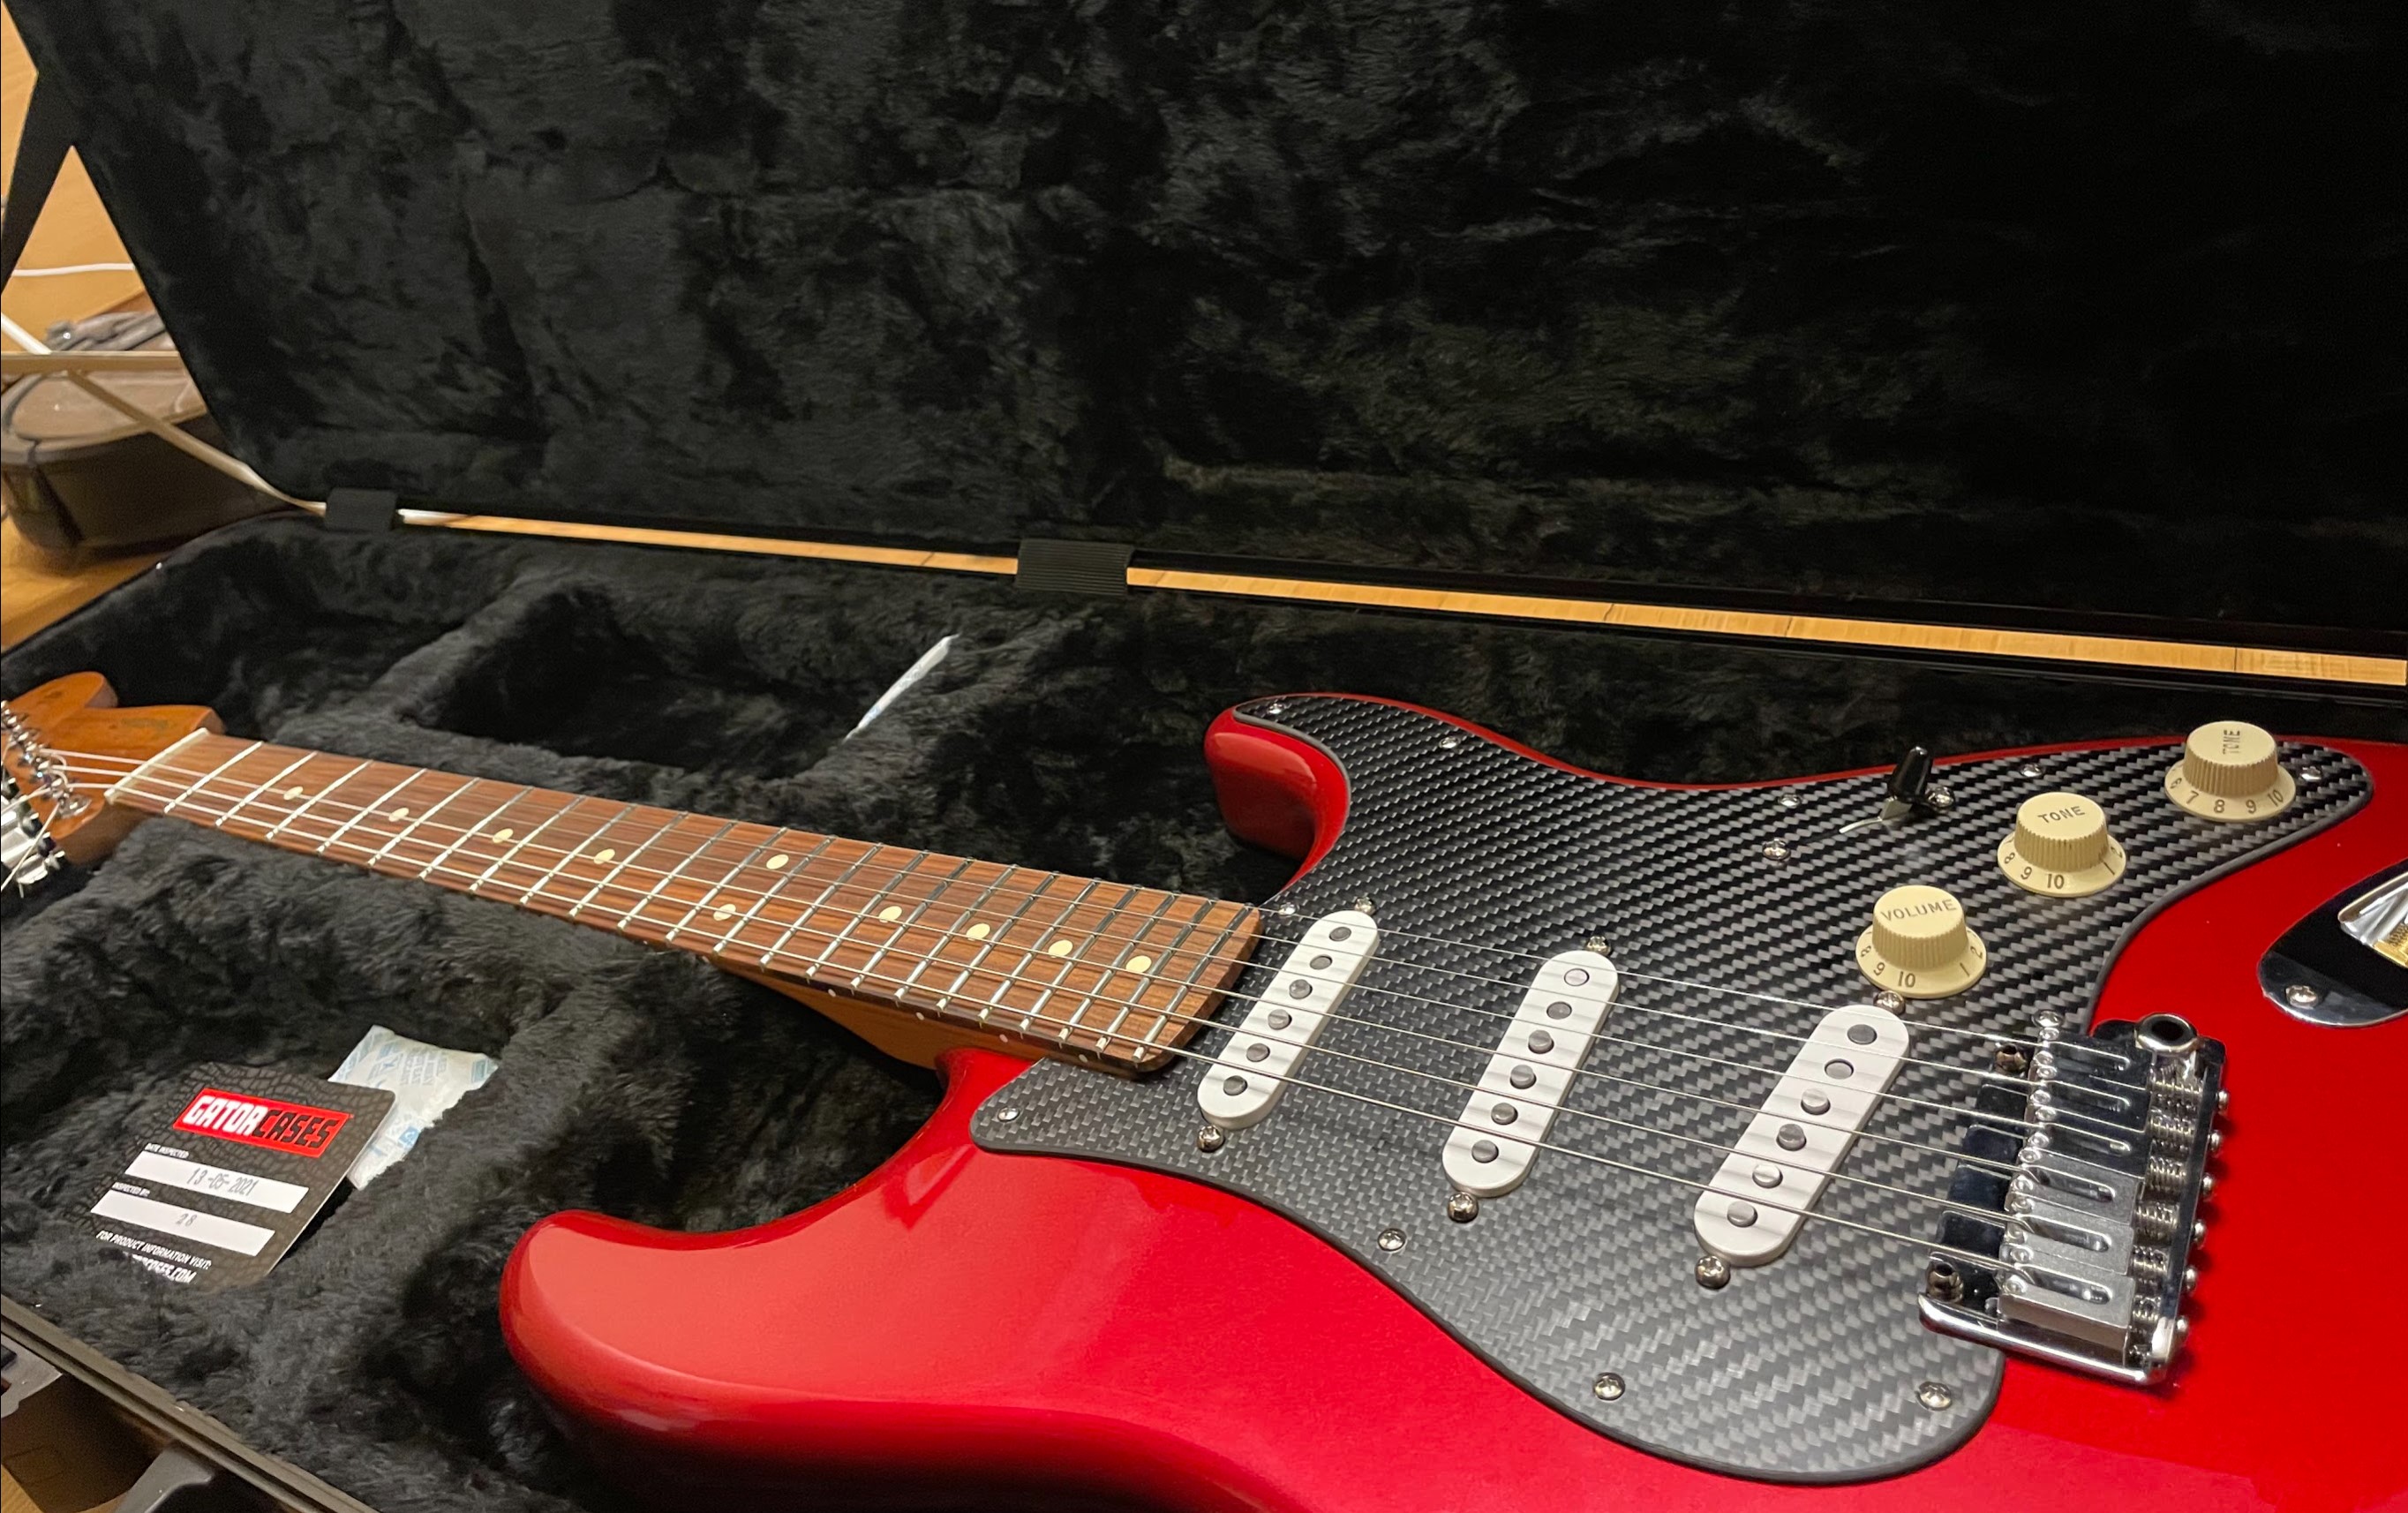
I ordered a clear acrylic MIJ pickguard, but it was broken by DHL (or it was already broken at Amazon). I found it troublesome to return it and found the clear pickguard isn’t fit the body’s color. And at this time, I found many STG models on some websites and realized the carbon fiber could do the task. So I customized one at Taobao, and it fits well. The weight is almost the same, but the texture of carbon fiber has a feeling of modernity and technology.
Pickups
After reviewing some samples on Youtube, I decided to choose a balanced and typical pickup because I don’t have much experience with the electric guitar. So the Fender Tex-Mex Pickups is a common choice. When I reviewed my build, I thought I should choose a better one, just like Fender Ultra Noiseless or Seymour Duncan things, but maybe this’s enough for me right now because I can’t really distinguish the difference in some reviewing videos.
Cables and Capacitors
I chose some Hi-Fi cables and good quality capacitors at online stores. However, there’re some real costly capacitors, the oil tone capacitor. It’s something beyond my physical knowledge. The original capacitors are very cheap, and they always sell as a batch(10-50 per batch). As for the cable, the diameter should be proper, maybe 0.8-1.3mm3. I first bought a too thin one(for earphones) and then purchased some 2.1mm3 wire. The thick one was too hard to bend, so I gave up and used earphones cable instead.
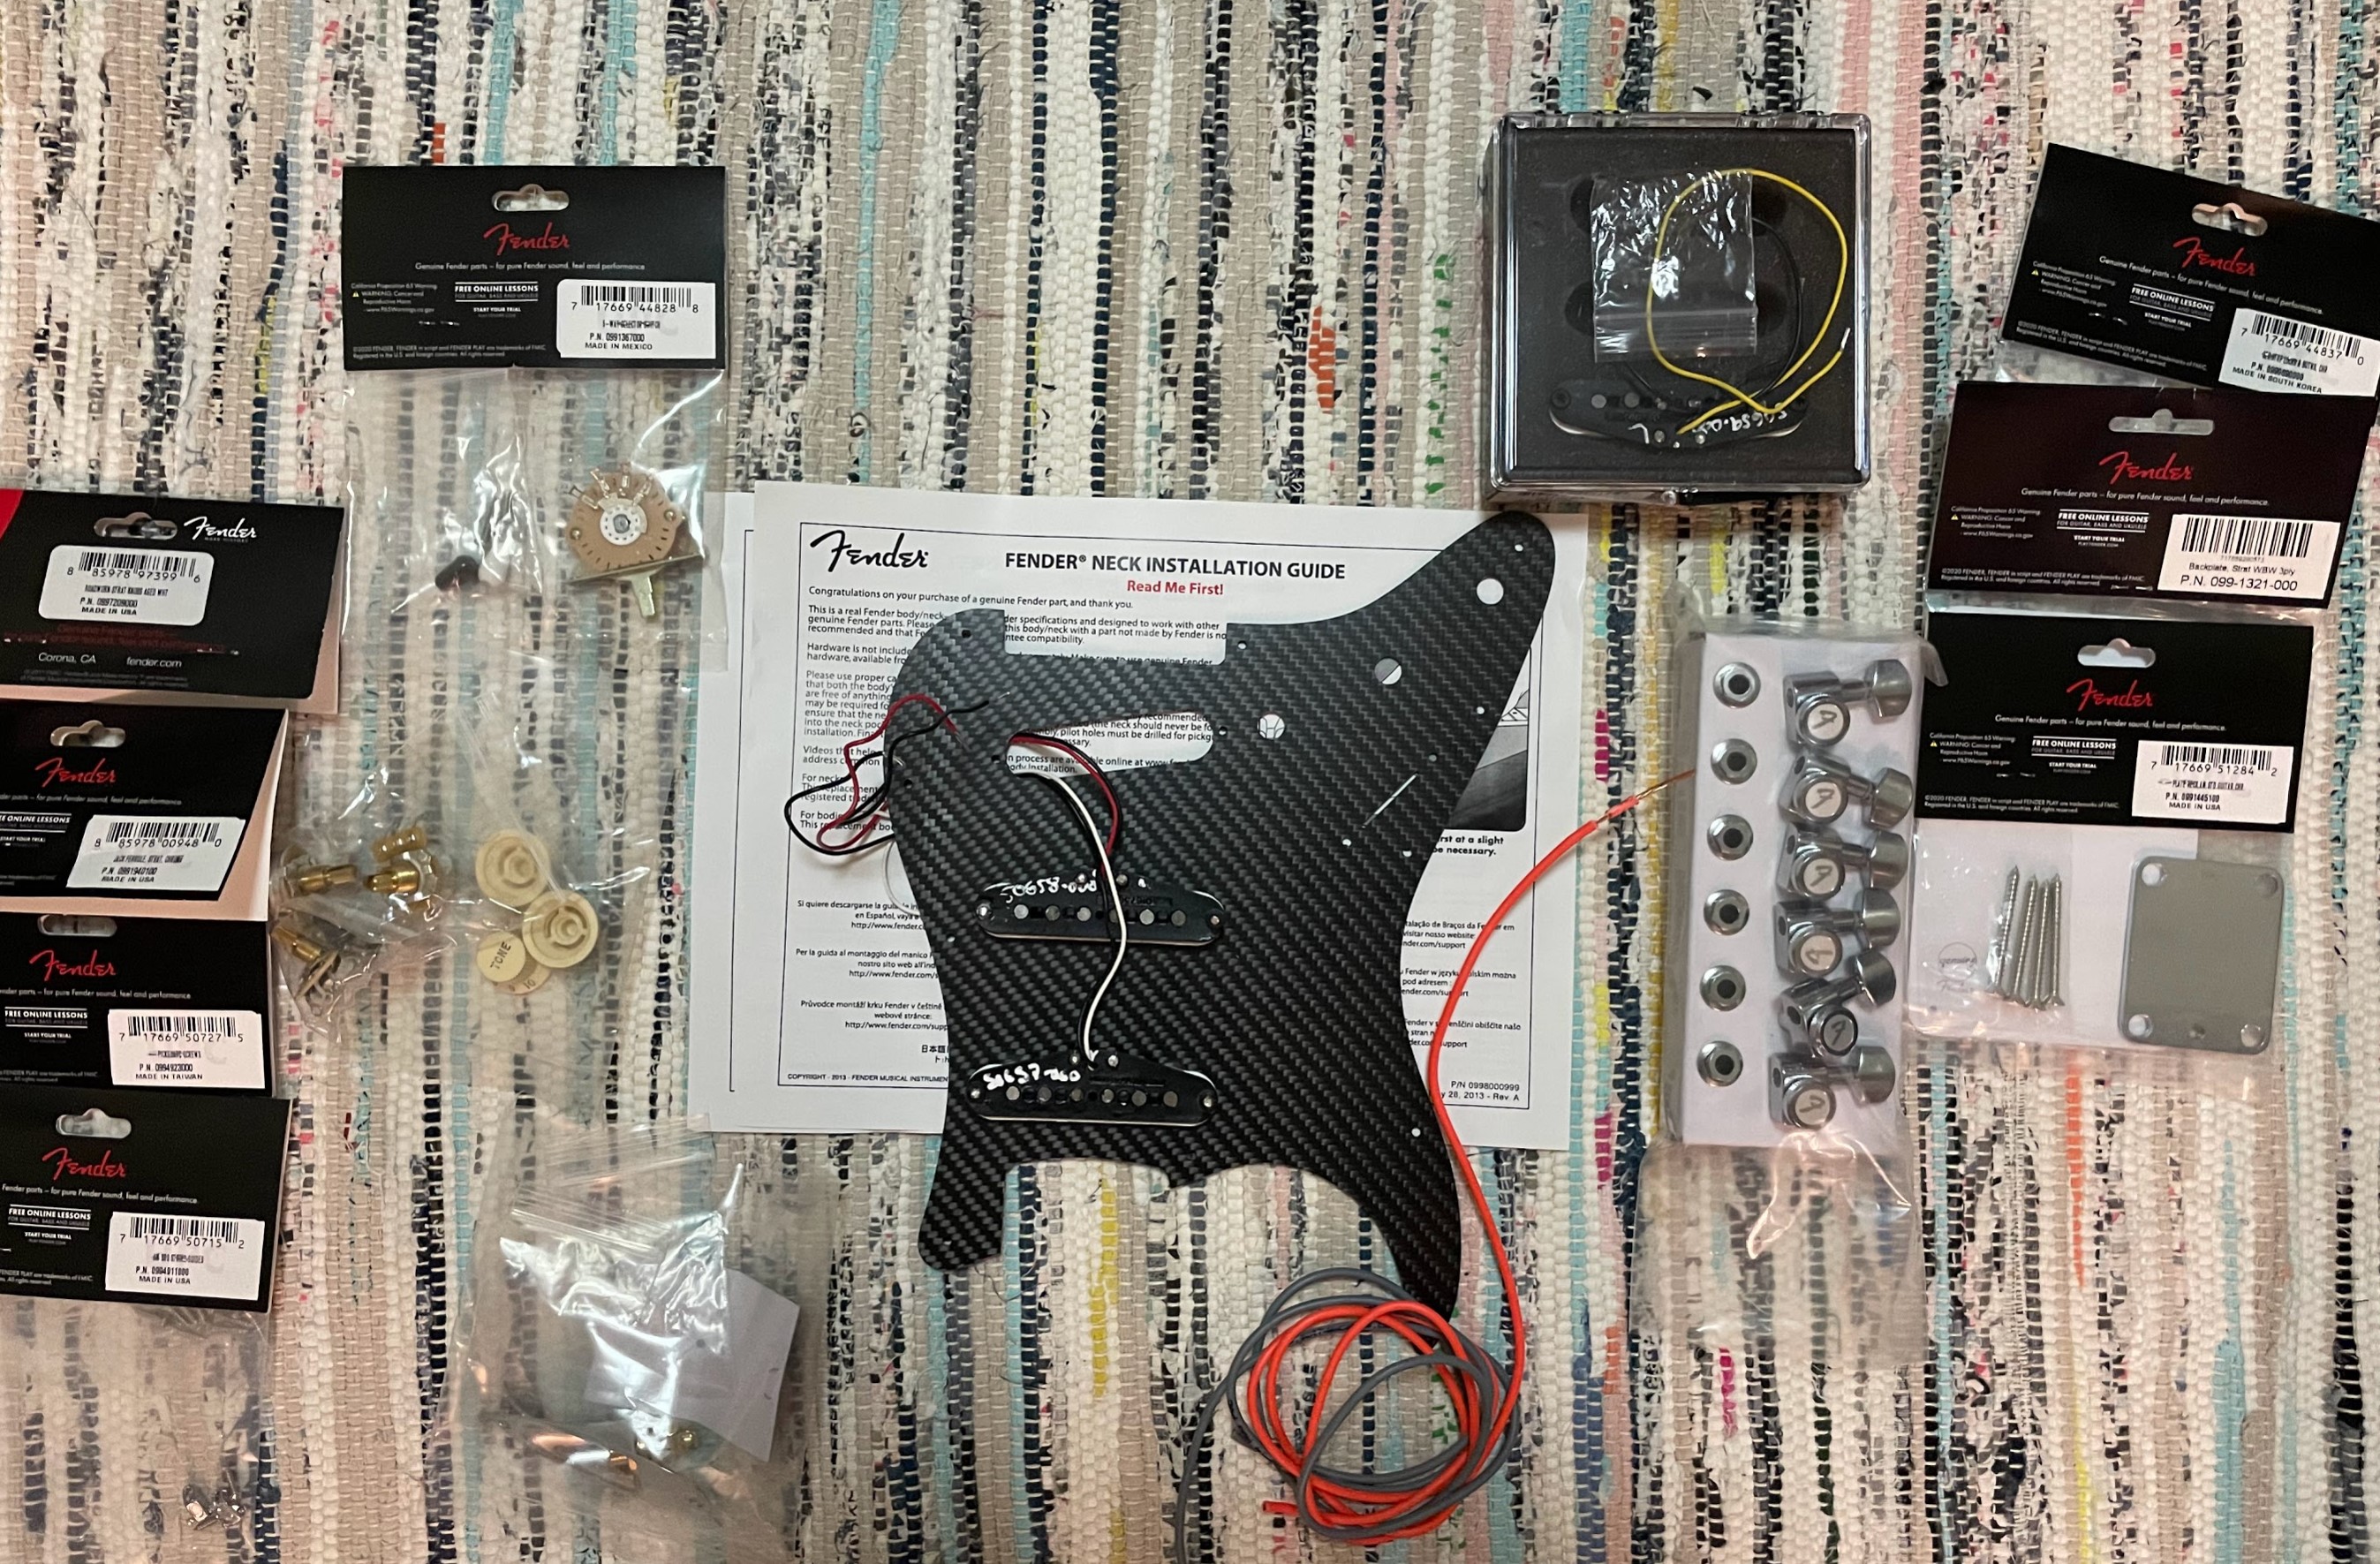 |
|---|
| Collected parts. |
Assemble Procedure
Copper Foil Tape Shielding
Copper foil shielding could prevent the guitar’s inner circuit from outside influence. So I bought some 3M copper foil tape. However, when I started to attach the tape to the body, I thought I should buy a wider one, at least 5cm wide. The 1.5cm tape cost me a whole evening to cut and paste. Here is a good reference about how to do it.
 |
|---|
| Copper foil shielded body. |
Install the Bridge
Hammer the bridge studs into pre-drilled holes with a rubber hammer, and stick some masking paper tapes on the body to avoid potential scratch on the guitar’s surface. Then install the bridge, Gothoh’s tremolo unit just exactly like the original Fender’s floating bridge.
Install the Turning Machines
Fender’s turning machines don’t need extra screws to install. Instead, there’s only a pole on the turning machine to attach to the screw hole. I want to use Gotoh’s turning machine because they’re more beautiful, but the cost is to have six more screws on the neck head.
Attaching Neck and Body
Because of the neck plate issue I mentioned above, I installed three screws of four. After the contoured heel neck plate arrival, I drilled a little on the neck through the hole on the body and installed all four screws.
Install the Pickups and Soldering Inner Circuit
Firstly, screw the pickups, switch, and potentiometers on the pickguard. Then solder the cable and the capacitor. There’re lots of graphs on the Web that provide circuit reference when wiring the guitar. And Fender has one inside the box of the pickups. Just do some basic soldering and validate the connectivity afterward. Don’t forget to solder input jack wires.
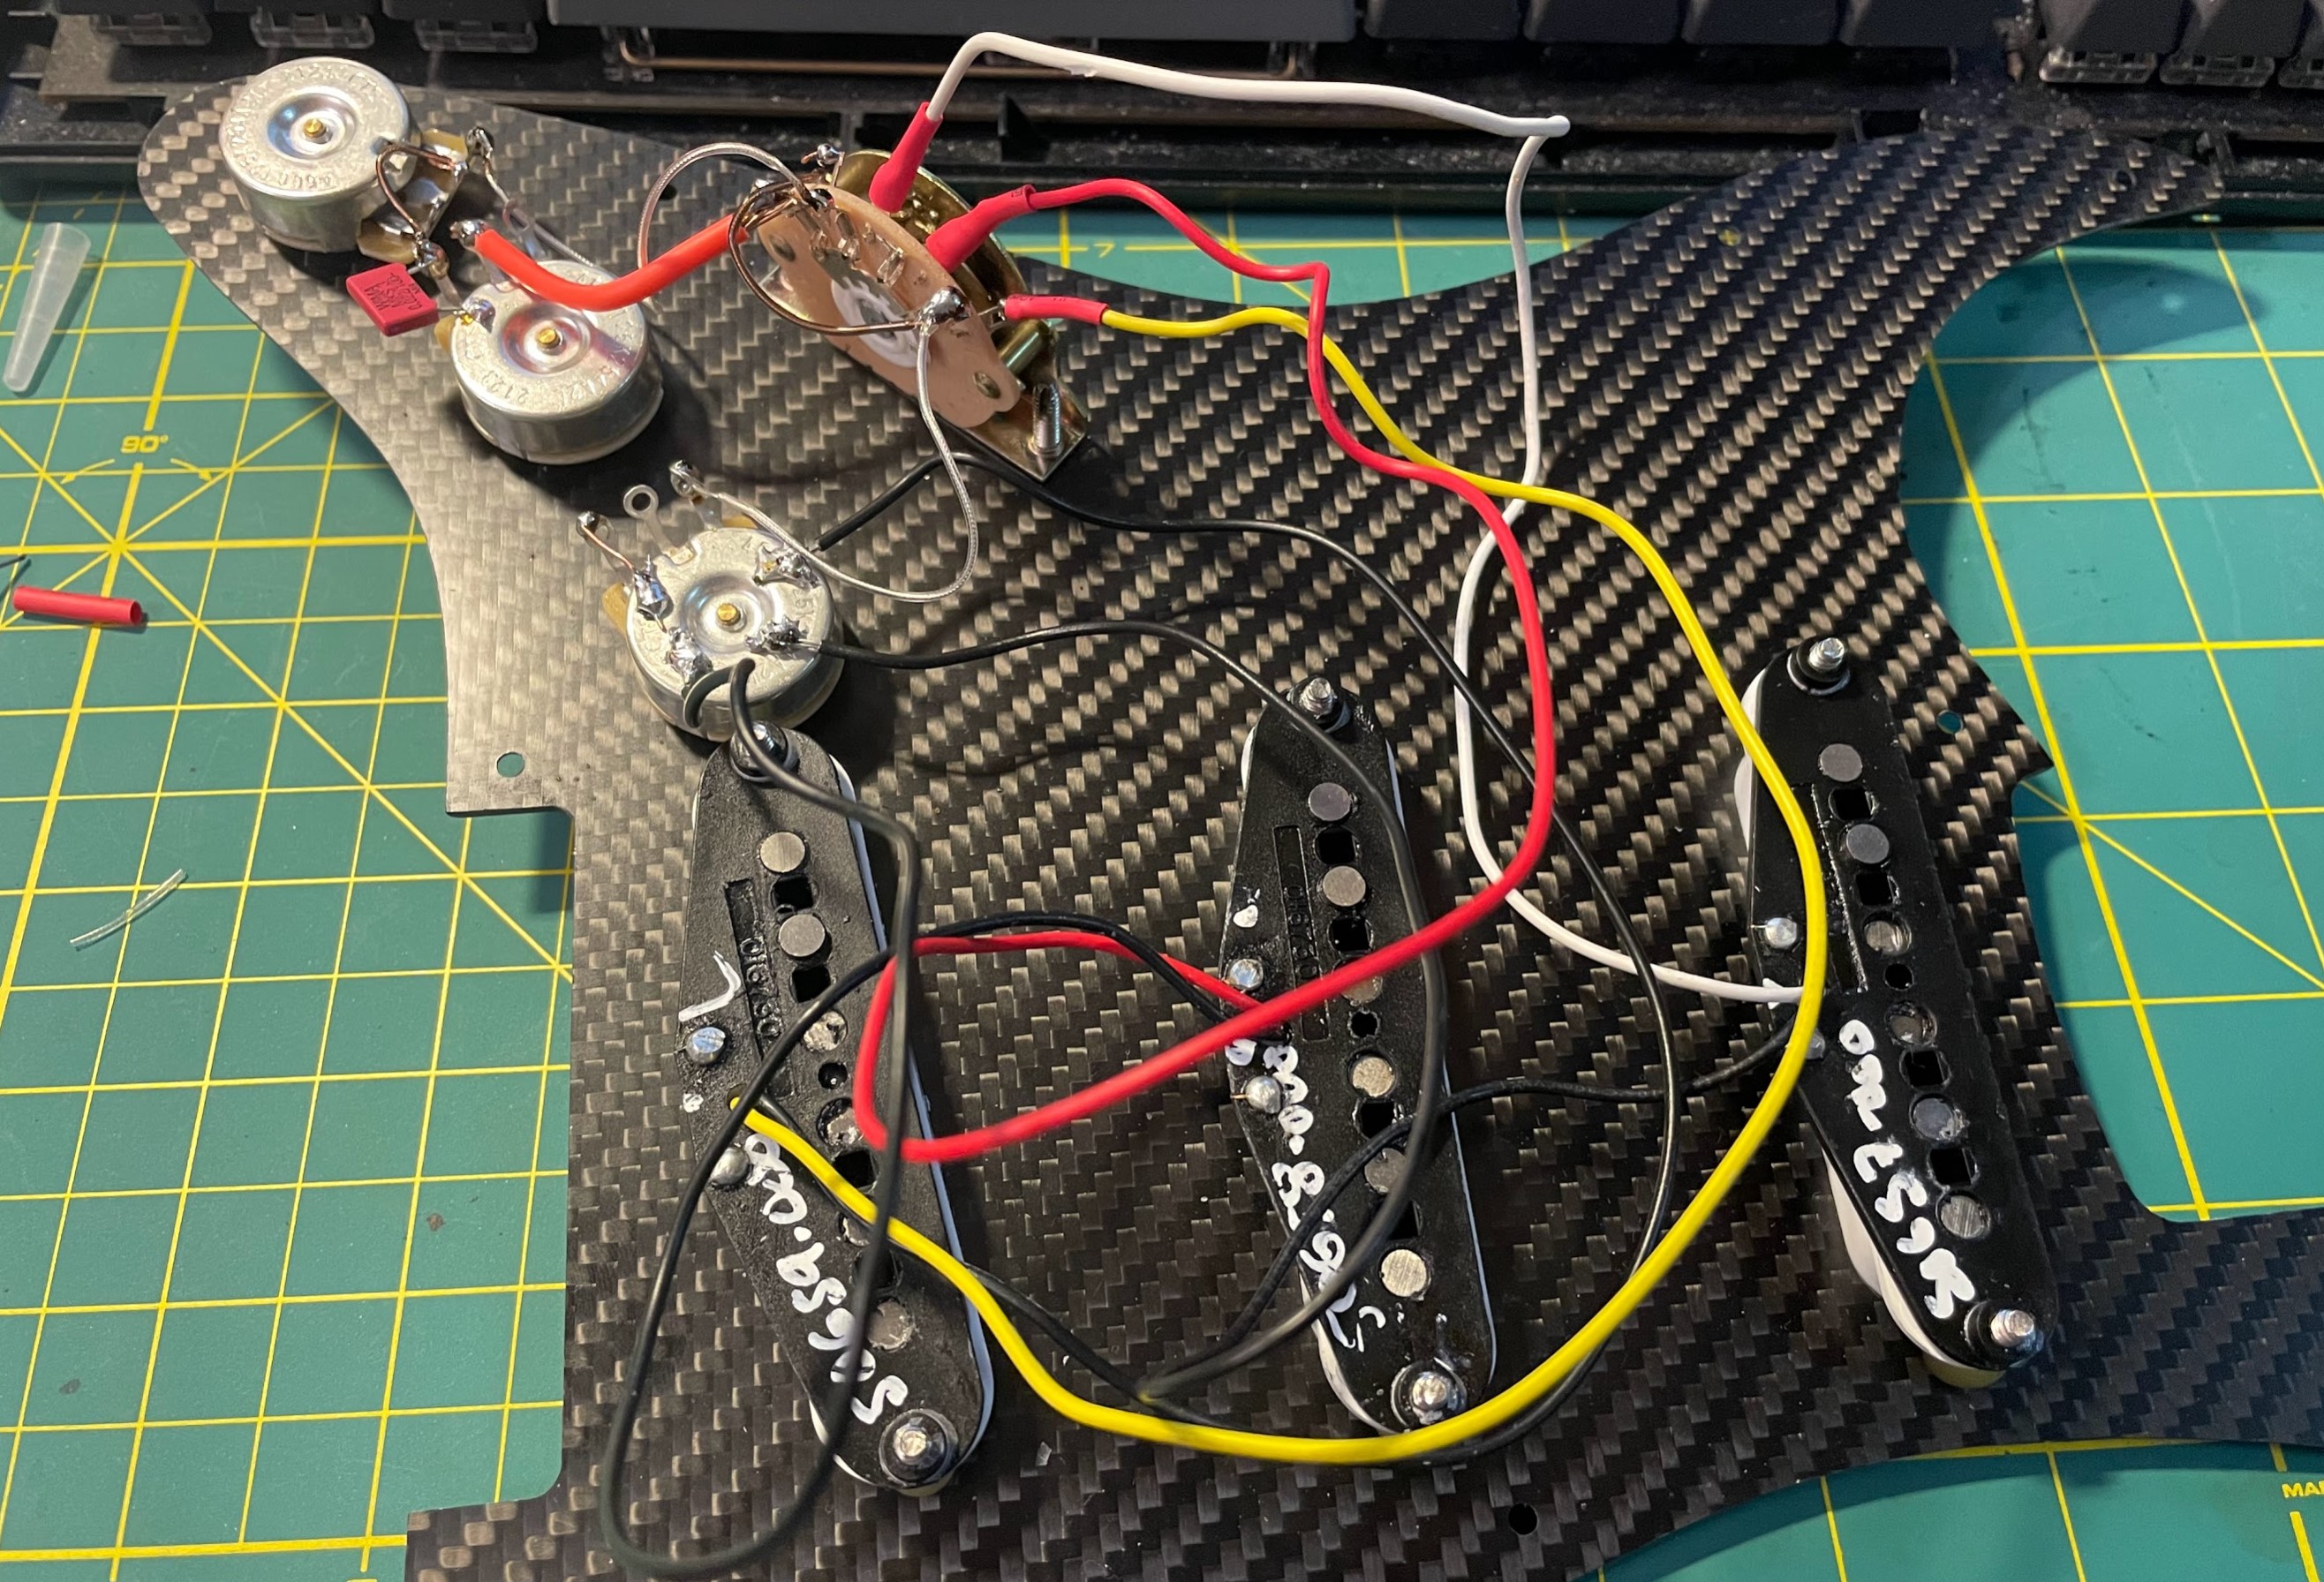 |
|---|
| The soldered pickguard. |
Install Pickguard Into the Body
Now the circuit was attached to the pickguard. I fixed the pickguard on the body with masking paper tapes and drilled the leading hole before screwing the pickguard screws. Then, solder the ground wire on the bridge, the whole pickguard was fully installed. By the way, the leading hole is much smaller than the screw. I use only a 0.9mm drill to avoid damage to the body finishing.
Jack Ferrule and Hardware
Attaching the hardware on the jack ferrule, then soldering the jack hardware with the cable. Afterward, fix the jack ferrule on the body with masking paper tape and drill the leading hole, then screw the two screws to fix the jack ferrule.
Install the Backplate and Strings
Before installing all six strings, you can install one string to test if the circuit works. If things go well, fix the backplate with masking paper tape, drill the leading hole, and install the screws. Then install the strings and adjust the string height.
In addition, There’re two string guides to install on the head. I’m still wondering the proper position to install them, so I haven’t installed them until now.
 |
|---|
| The Stratocaster, assembled. |
Parts List and Cost
| Parts | Description | Price(CNY) |
|---|---|---|
| body | Fender® DELUXE SERIES STRATOCASTER® ALDER BODY - HSH ROUTING Candy Apple Red, Model #: 0997103709 | 1771.40 |
| neck | ROASTED MAPLE STRATOCASTER® NECK, 22 JUMBO FRETS, 12”, FLAT OVAL SHAPE Model #: 0990403920 | 1898.41 |
| backplates | Fender フェンダー パーツ STRATOCASTER MODERN-STYLE TREMOLO BACKPLATES WHITE | 175.68 |
| pickguard1 | 222.49 | |
| pickguard | Customized carbon fiber pickguard | 140 |
| pickguards screws x24 | - | 72.0 |
| neck plate2 | 172.20 | |
| neck plate(updated) | CONTOURED HEEL NECK PLATE W/SPAGHETTI LOGO, CHROME, Model #: 7708383049 | 158.05 |
| pickups | Fender Tex-Mex Strat Pickups | 743.25 |
| tunning machines | Fender Locking Tuners - Polished Chrome Model #:990818100 | 478.93 |
| bridge | Gotoh 510TS-FE1 | 976.07 |
| bridge studs x2 | - | 80.0 |
| tone control pots | Fender Road Worn Stratocaster Knobs (1/4”) - Aged White | 216.16 |
| input jack hardware | PURE TONE オープンジャック インチサイズ モノラル ゴールド PTT1G | 120.30 |
| jack ferrules | Stratocaster® Jack Ferrules Model #: 0991940100 | 161.38 |
| selector switch | Fender フェンダー パーツ 5-POSITION STRATOCASTER PICKUP SELECTOR SWITCH, Model: 0991367000 | 128.10 |
| string guides | Fender パーツ American Standard String Guides | 128.64 |
| potentiometers | (3X) CTS 450G Series 250K Vintage-style Short Split Shaft Audio Taper Potentiometers for Stratocaster | 125.15 |
| strap locks | Fender パーツ Elite Strap Locks, Chrome | 156.44 |
| inner cables | Serost Mi-101/102 | 25.49 |
| capacitors | WIMA MKS4 0.022UF100V | 34.0 |
| solder wire & accessories | 114.80 | |
| copper foil tape | 3M 1181 | 70.6 |
| total | - | 9242.24 |
Conclusion
To build up an electric guitar is not very complex, but it has many trivial things to notice, so I wrote them down here as a reminder. At least, I got the things done, the guitar itself didn’t produce any noticeable noise, and the sound is very bright and clean, breathtaking. The assembly procedure provides me with a lot of fun, though you need to search many things on the Web to make sure the parts are fit.